| I didn't want to splice into wires to run
my gauge lights so this is what I did.
There wasn't a relay in this location at the passenger feet...
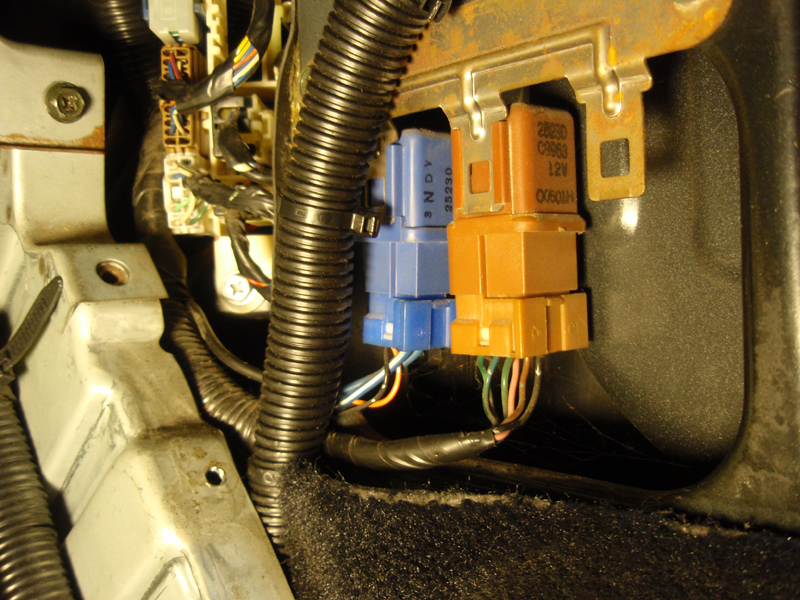
so I took an extra Nissan relay I had...
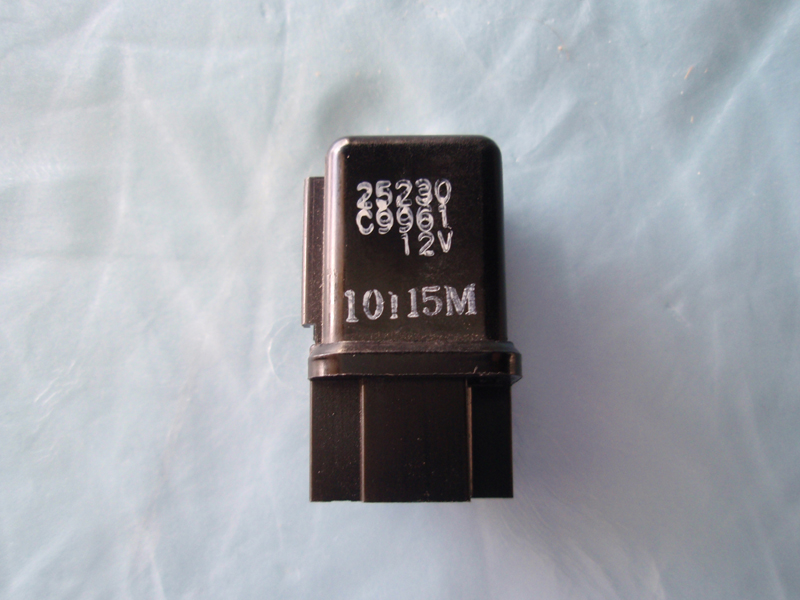
and mounted it in the empty spot.
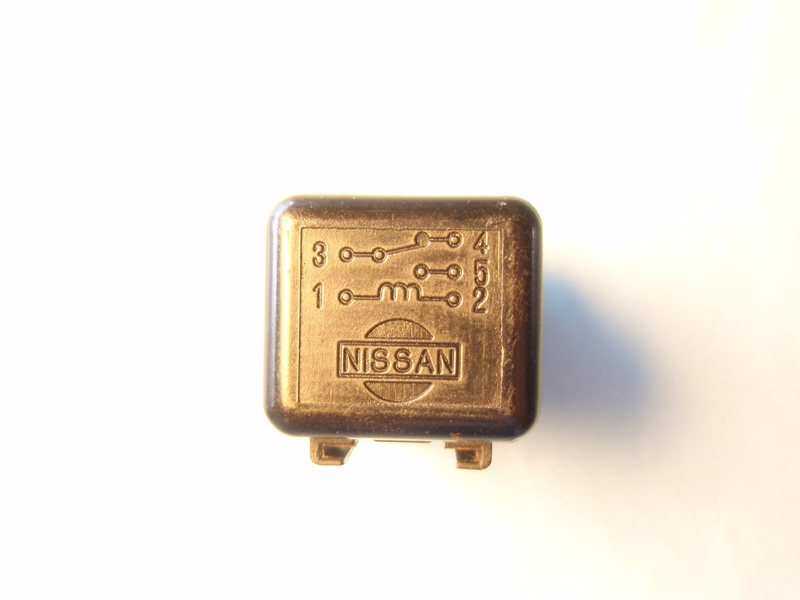
I ran a two wire cable from the coil of the relay to the
instrument lights at this location on my 1990 gauge cluster. When
you turn on the instrument lights these points become active and
activate the relay.
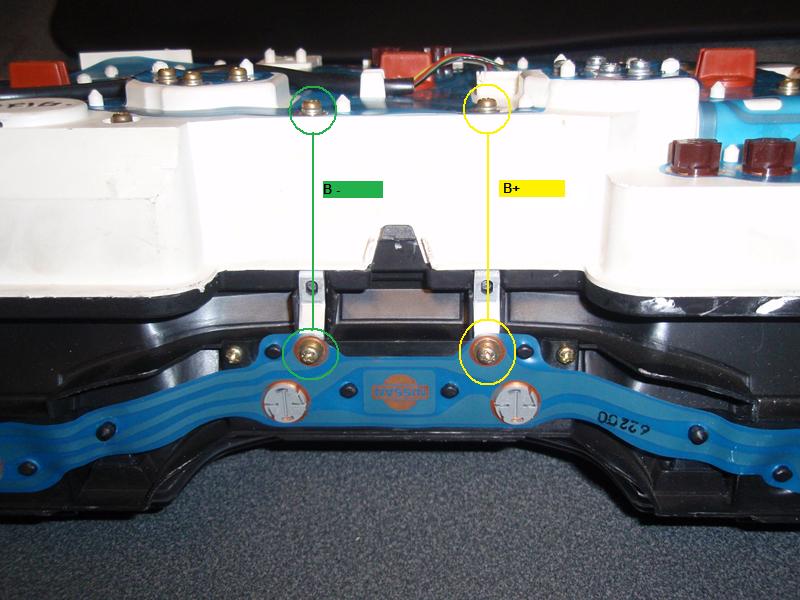
I ran another two wire cable from the active relay contacts and
ran one side to switched 12 volts and the other side to a positive
terminal block. All the gauge negative light leads connect to a
ground terminal like this one.
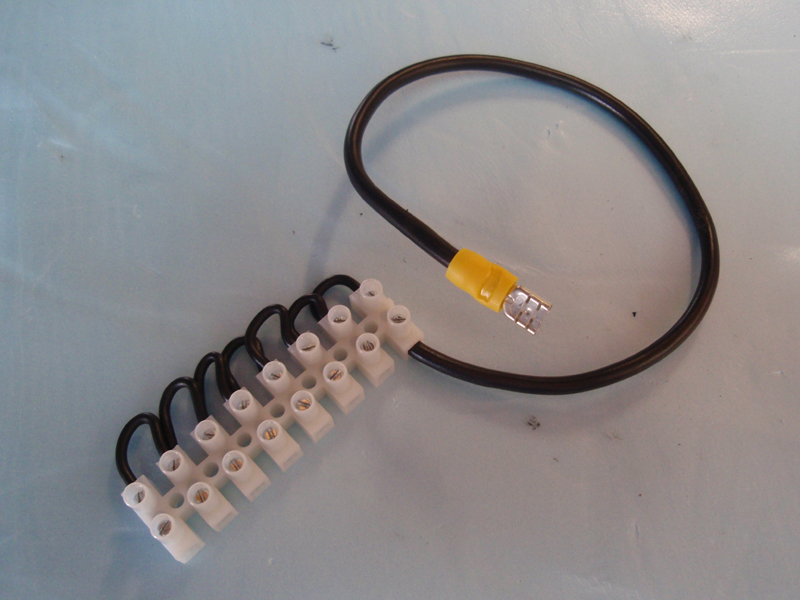
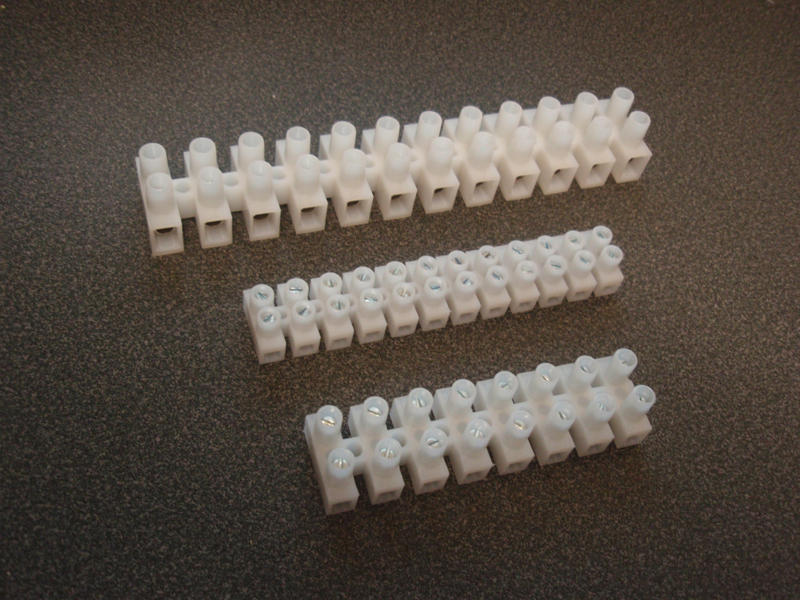
Radio Shack has these in a couple of different sizes. I like them
because they are easy to use and provide pretty good insulation from
outside contact.
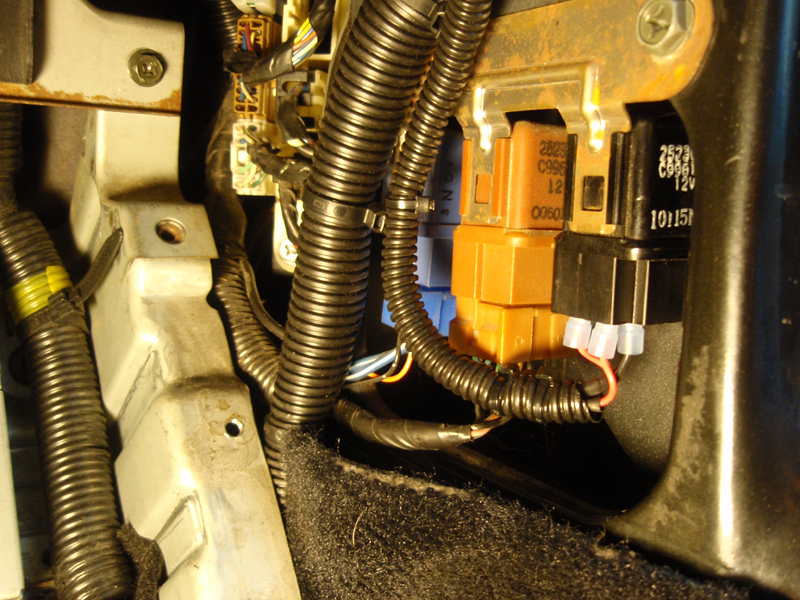
Here is where the wires come from the relay.
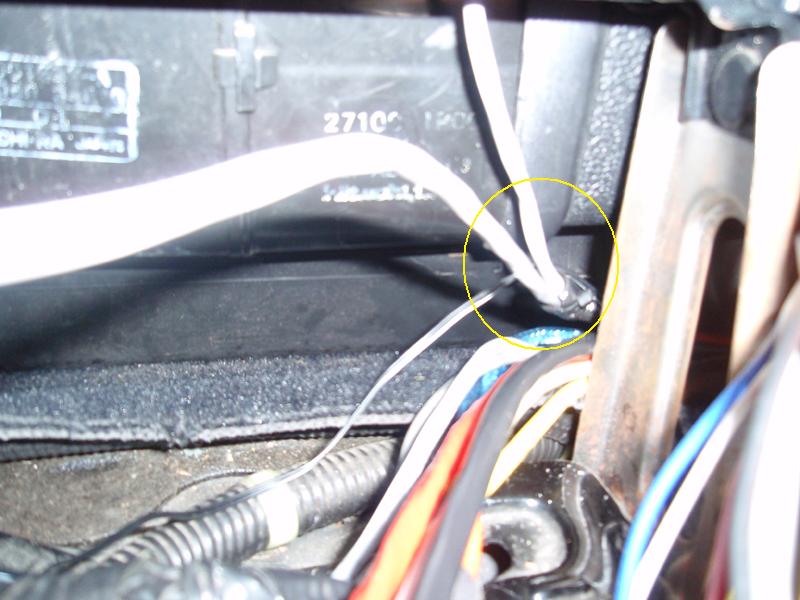
This is the one which runs to the gauge cluster.
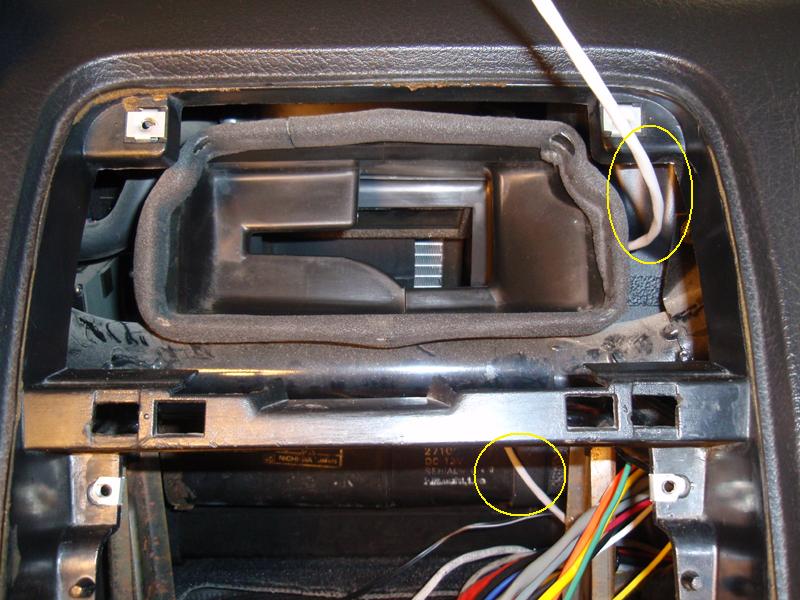
It runs over the air duct, around the back and out here.
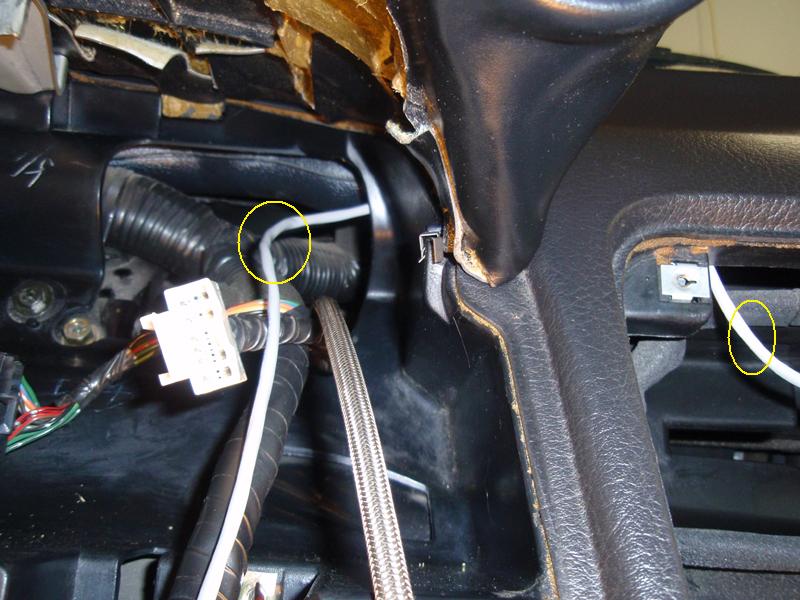
With the slack pulled it hides out of the way above the air duct.
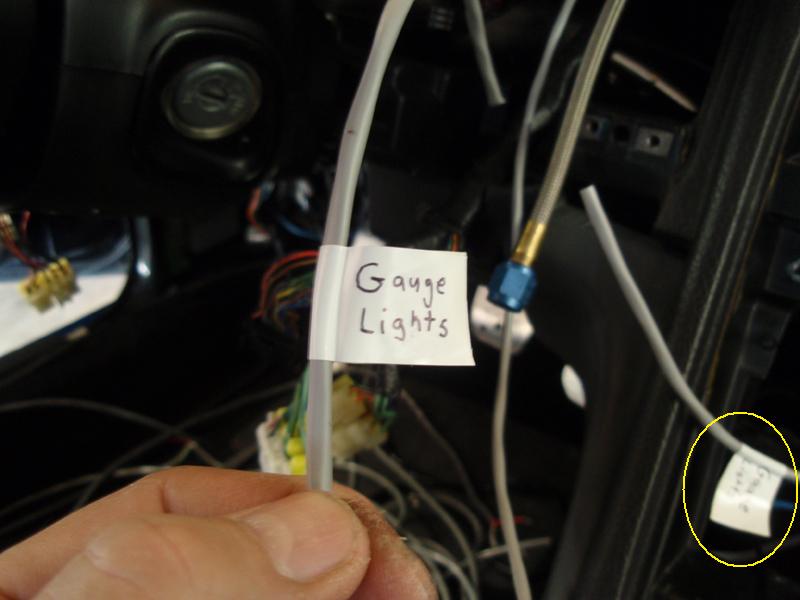
The one in my hand runs to the gauge cluster instrument light
power and the one circled in yellow runs to the terminal block and
switched 12 volts.
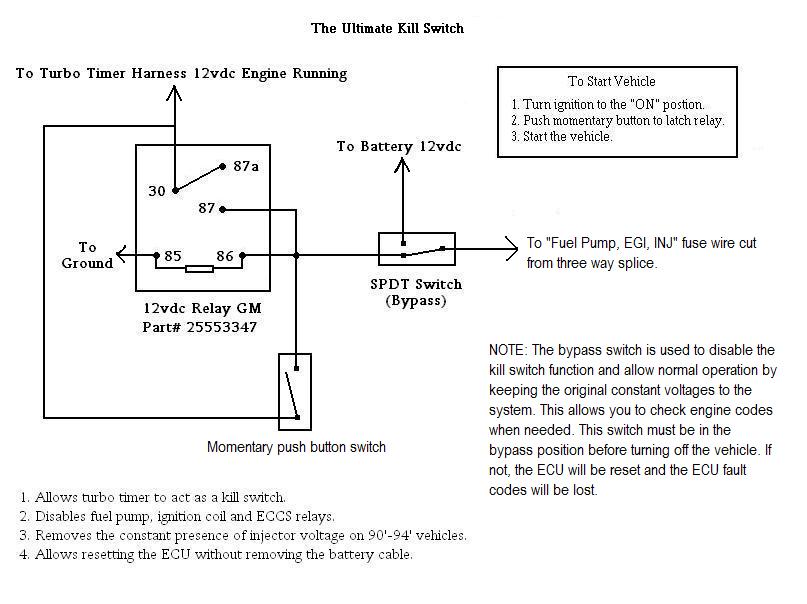
I had talked in my previous post about a kill switch which
disabled starting the car and removed the injector voltage at the
same time when the turbo timer timed out. Here is how I modified my
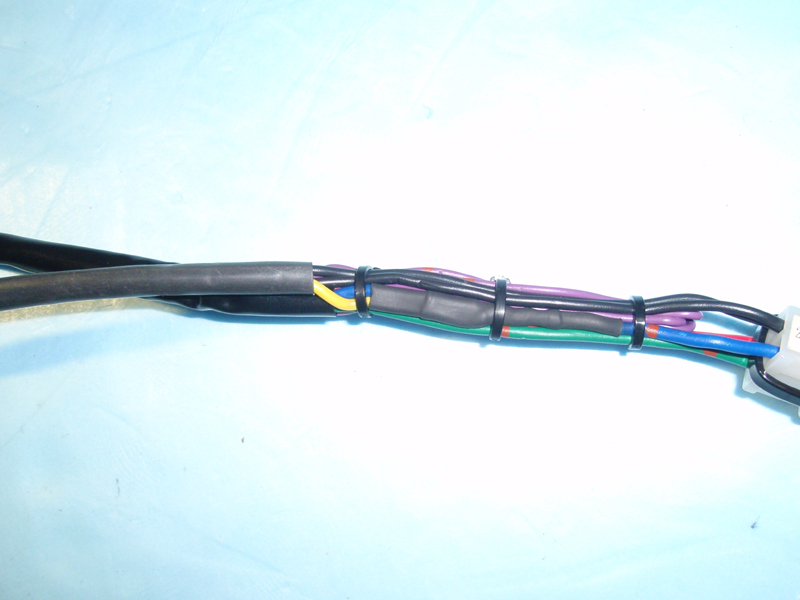
turbo timer harness to tap off of the running 12 volts.
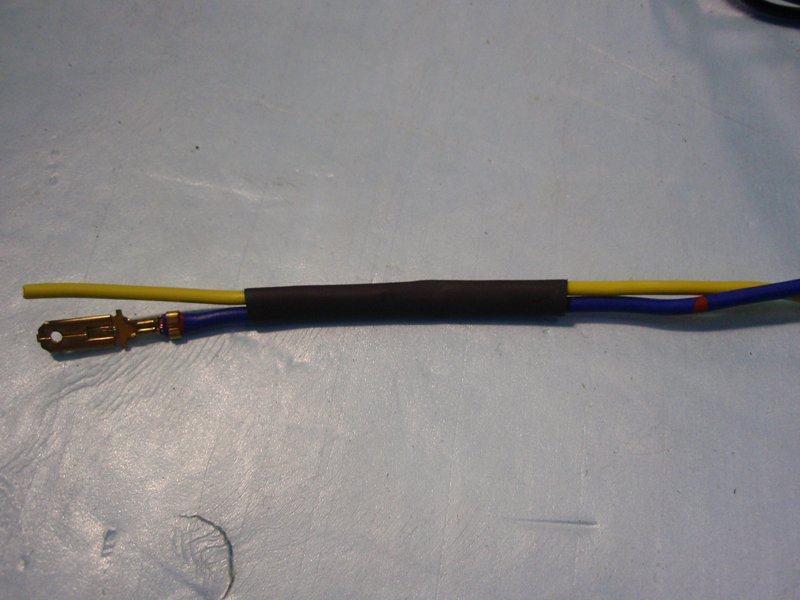
As you know, the turbo timer ignition harnesses are basically the
same. At least the ones for Blitz and HKS are. The first thing is to
depin the blue wire from the turbo timer units three lead connector
which goes to the ignition harness and pull it out of the black
sleeve.
Then, using wire strippers, I strip out a section of insulation
and remove it.
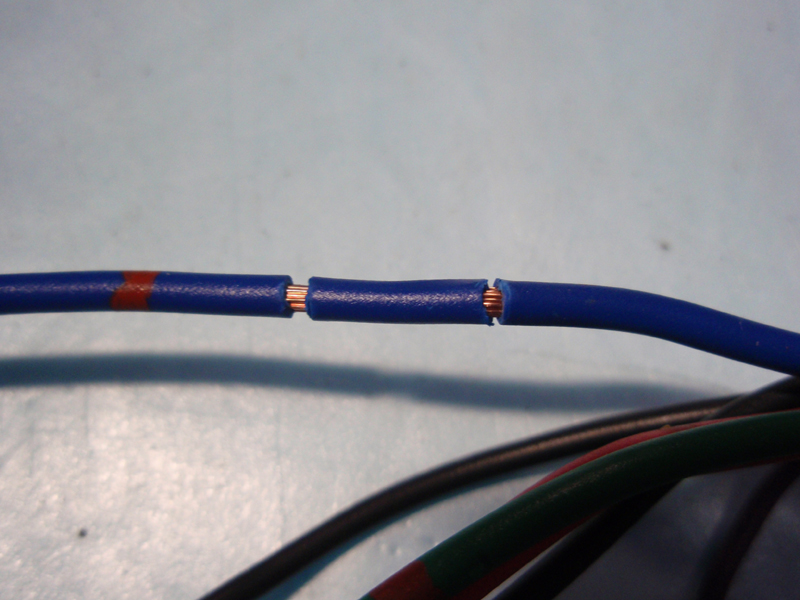
Solder in an extra wire which will go to the kill switch relay.
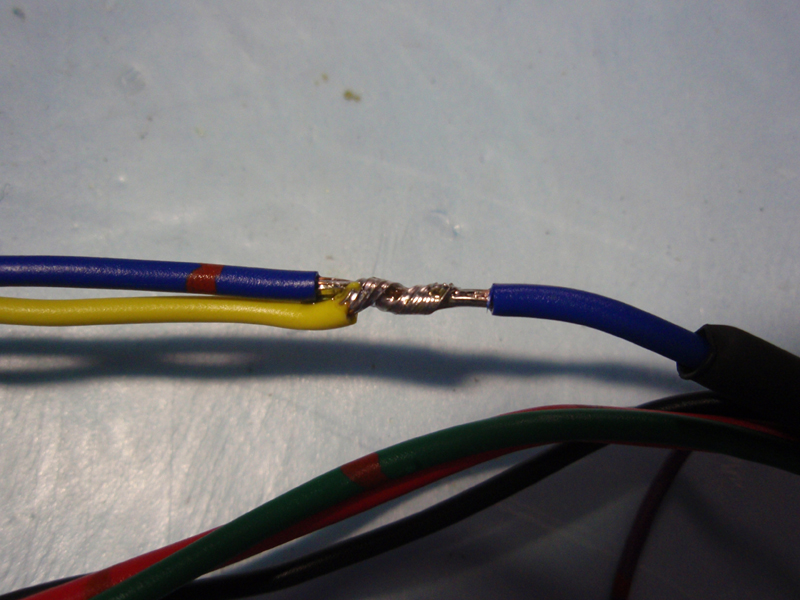
Heat shrink it up.
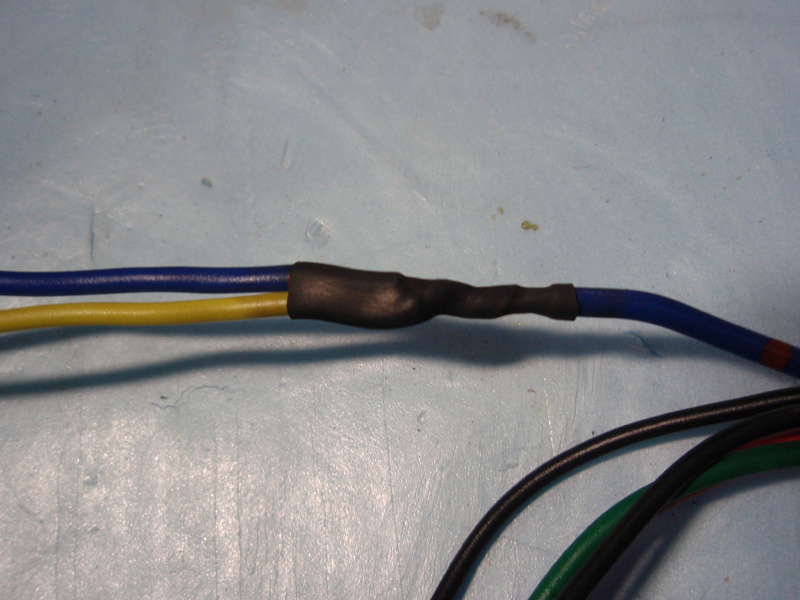
I'm anal so I use more heat shrink on top of that :)
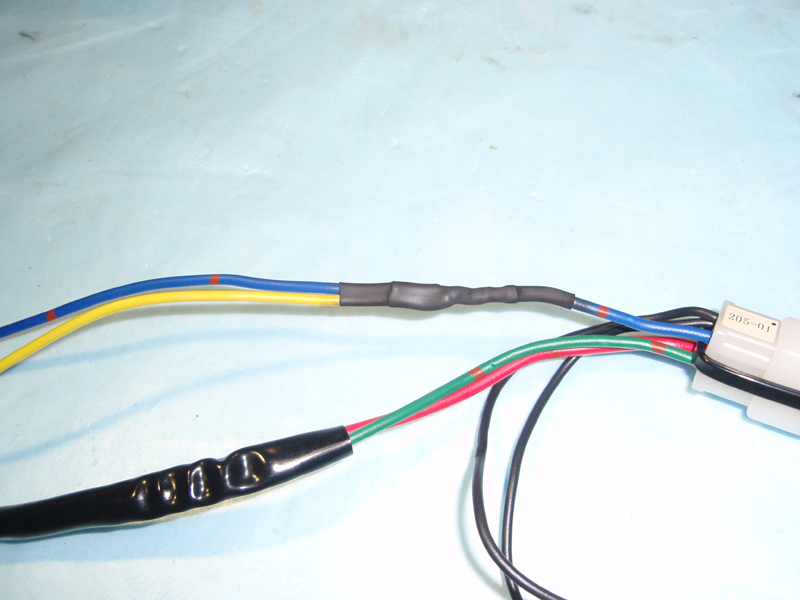
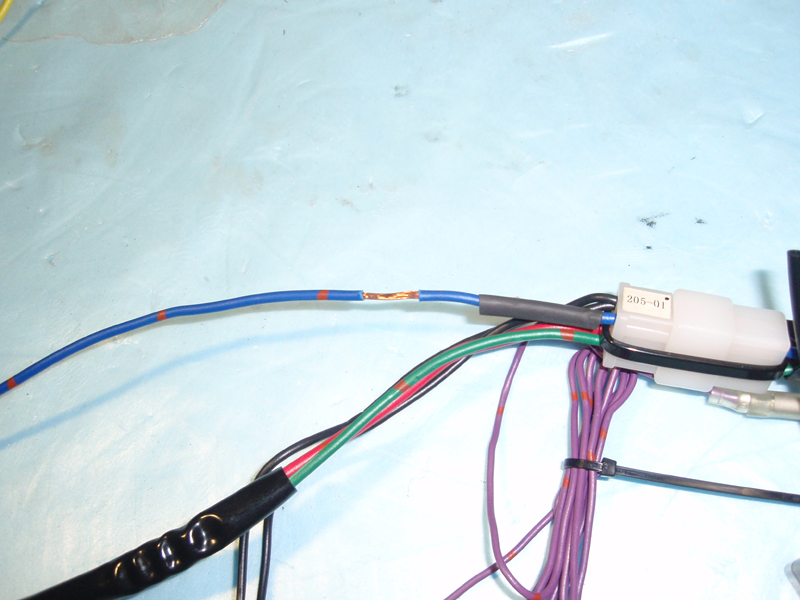
Next I put the blue wire back as it was before. I then took the
new wire I added to it along with the turbo timer negative wires and
put them into their own sleeve using a larger size heatshink without
shrinking it. This gave me two neat harness branches.
Everything tied up neatly.
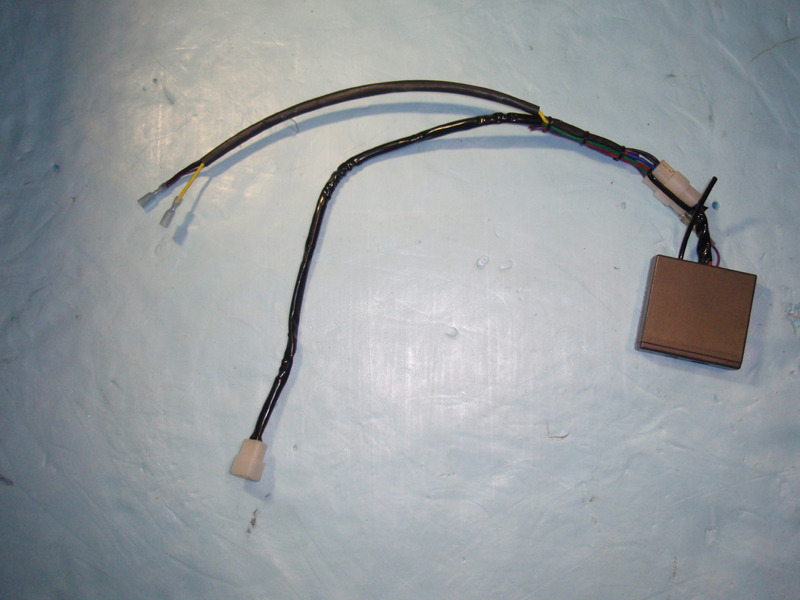
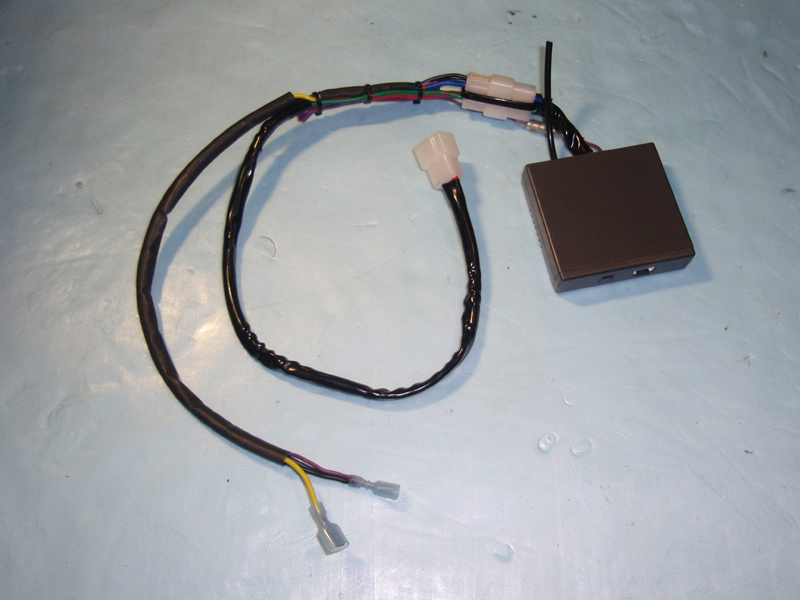
And there you have it. The blue wire of the three lead turbo
timer connector stays powered until the car shuts off when the turbo
timer times out. The yellow wire I added to it goes to the kill
switch relay. When the power drops the relay opens. A momentary
button latches the relay to let you start the car but only after you
turn the ignition to the run position. In the run position the turbo
timer blue wire is hot again.
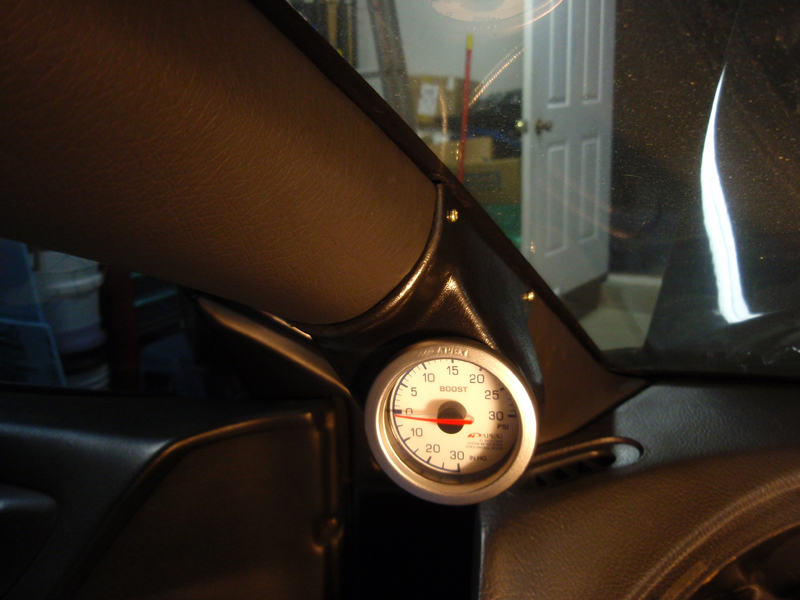
Not the greatest pictures but after finding my A pillar was about
to fall off from having broken mounting tabs I replaced it with a
brand new one from Nissan. I guess they are still available.
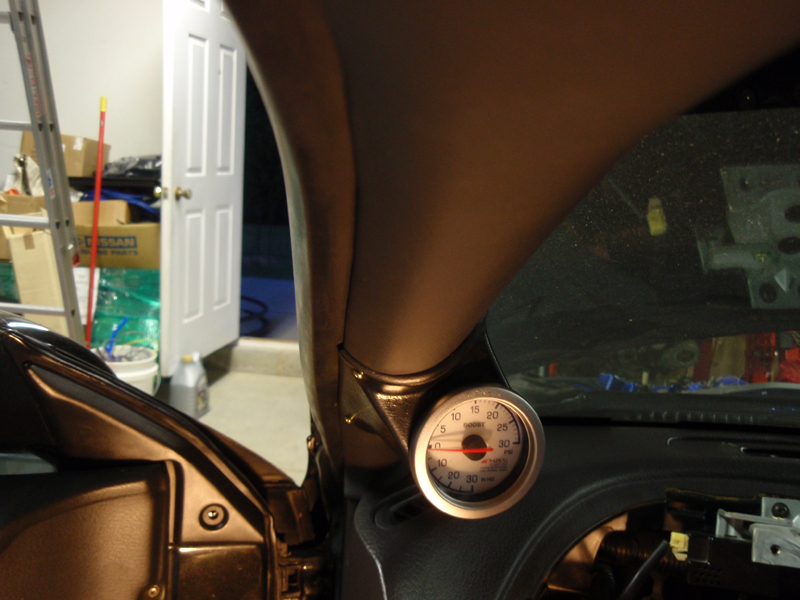
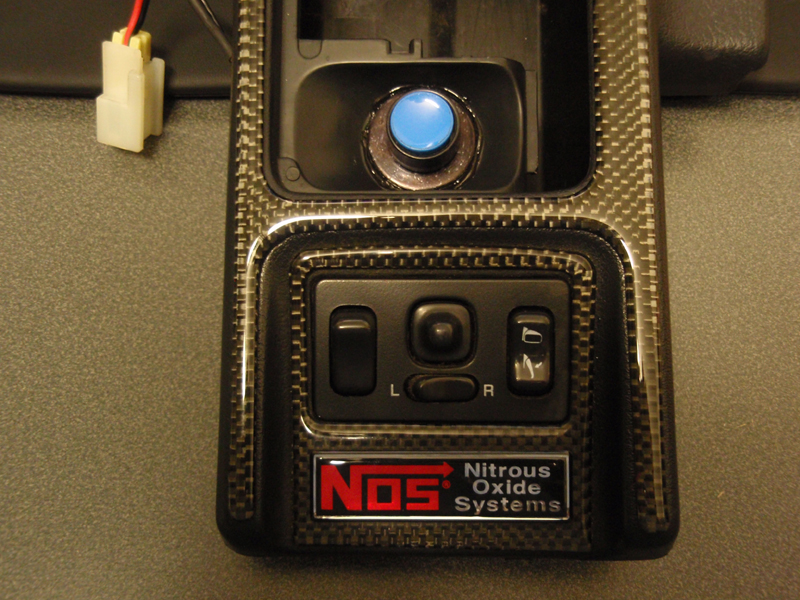
I mounted my NOS button where the cig lighter used to be. I used
black silicon to hold a large washer in place and mounted the switch
to it. I use silicon so it would be easy to remove if I needed to.
It was about the only thing I could think of at the time :)
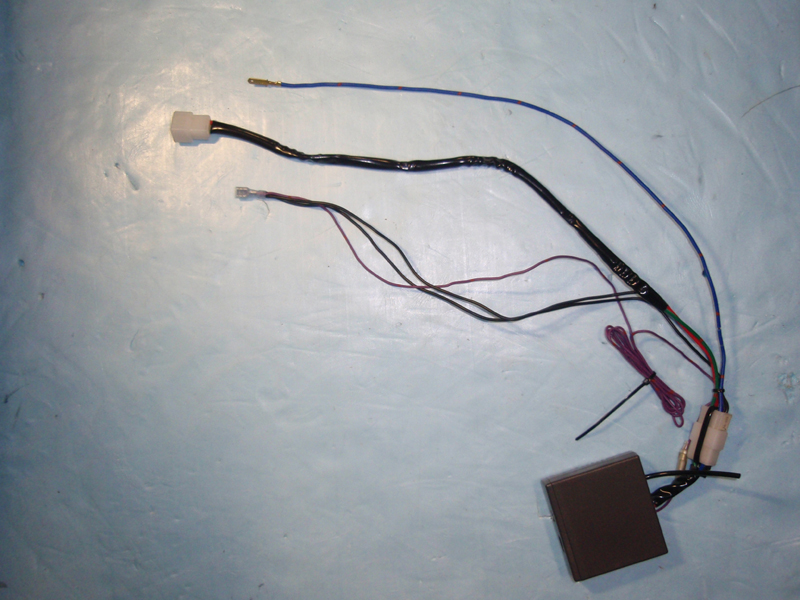
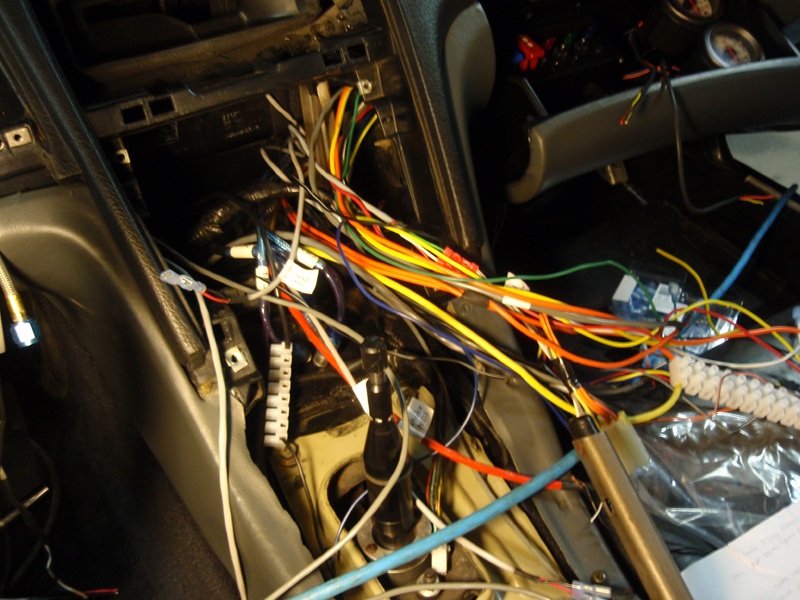
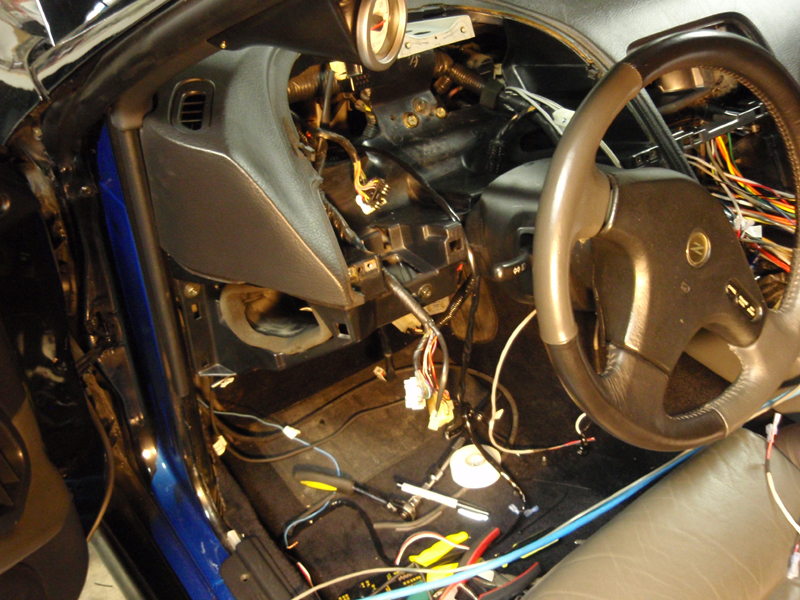
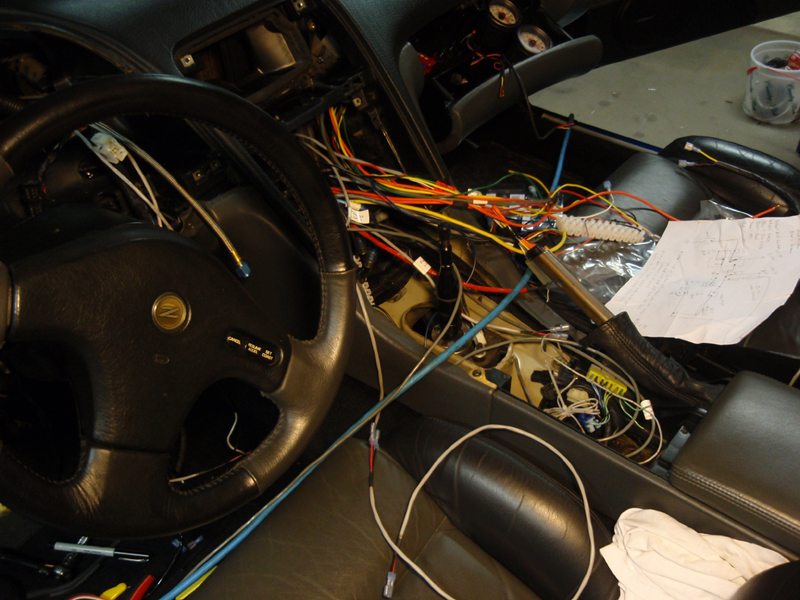
And to see how much of a mess this all is, here are a couple of
random shots of the work being done. Some things I'm doing here is
just temporary such as the terminal blocks I was using to connect
things for power as I worked and made sure things were working
properly. Although all the wires look a mess, everything will be
much neater after things are sorted, mounted and covered in natvar.
Thats it for now.
(Total Mouse Over Hits: a Lot)
http://www.twinturbo.net/nissan/300zx/forums/general/view/2203751/www.mytwinturbo.com
Watch an
ECZA meet caravan!
|


 More progress pics. -
DVDBURN (MD) 23:44:37 09/21/08
More progress pics. -
DVDBURN (MD) 23:44:37 09/21/08