| Since I had to make a new panel due to
scratching my other one I took some pictures of how I installed my
turbo timer and boost controller. The DIN pocket was to small to use
as a housing to mount what I needed. By removing it you have a
little more room to play with as far as width.
First I made a panel to go into the empty lower DIN. Without a
housing there is nothing to hold the panel so I came up with this
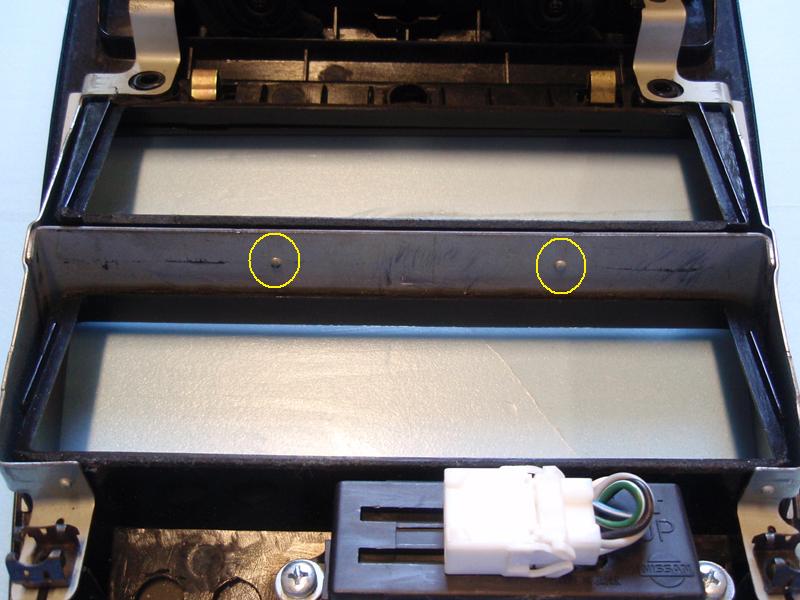
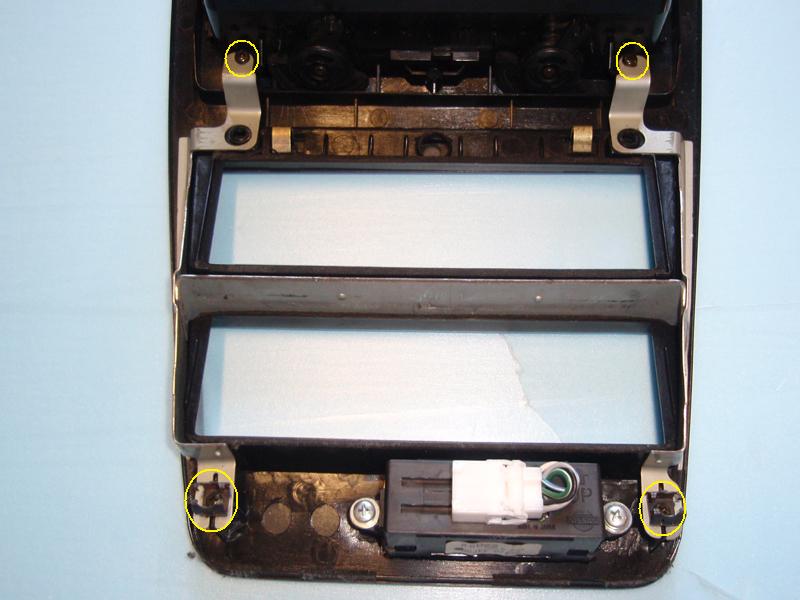
idea of how to hold the panel in place. Looking at the backside of
the radio bezel and the lower DIN location you can see there are
raised vertical areas on each side of the DIN hole.
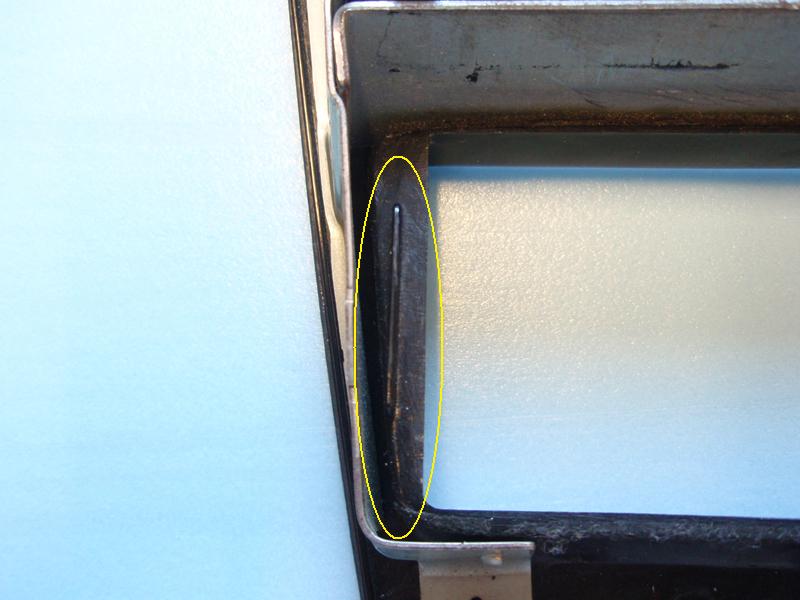
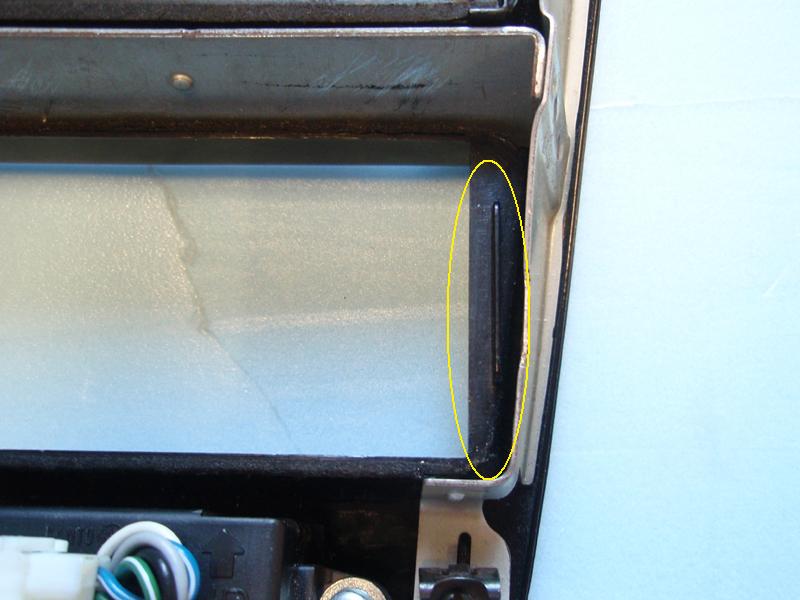
The distance between these areas is 7 5/16" across. This is the
width of the panel. The height of the panel is 5 5/16" and rides
just above the lower part of the brace.
I went to home depot and bought a right angle aluminum strip
which is 1/16 thick. This strip seems to only come in 8 foot
lengths. They have a three foot strip but it's way to thick. In this
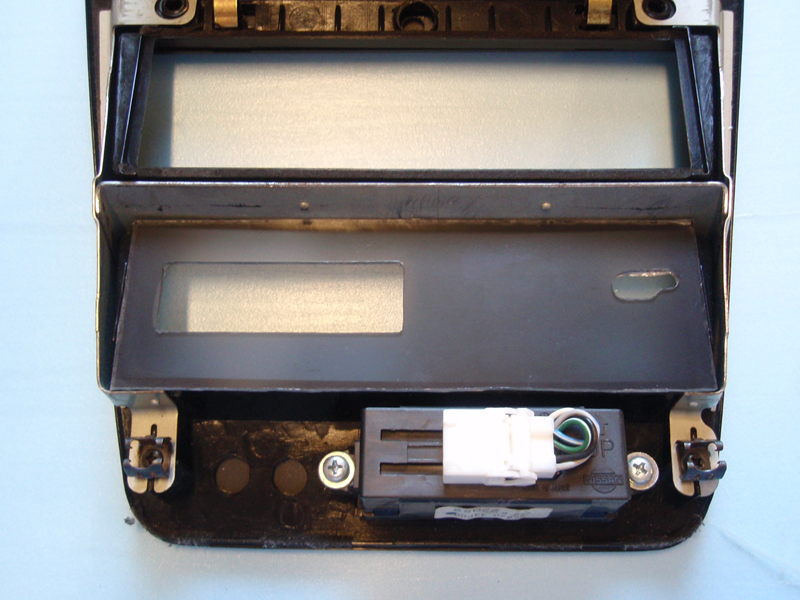
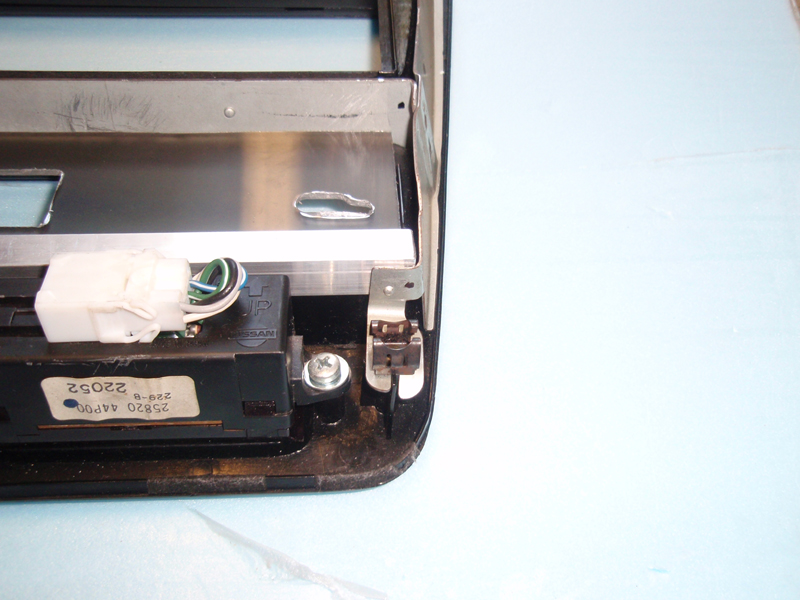
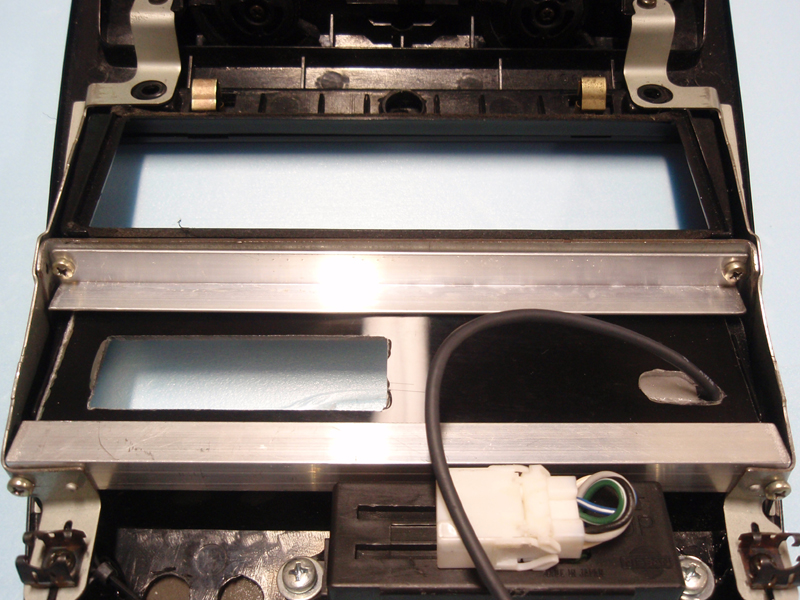
picture you see a piece of the strip that I cut to go across the
bottom of the panel to hold it in. The bottom strip is 7 5/8" long.
The length is a little wider than the width of the area where it is
to go so I put one end in first and then used a small screwdriver to
pry the metal brace out while putting the other end in. This is to
give a little more room on each side to drill holes and place screws
without bothering the plastic area of the DIN. The top has enough
clearance for the screws. The top strip is 7 3/4" long.
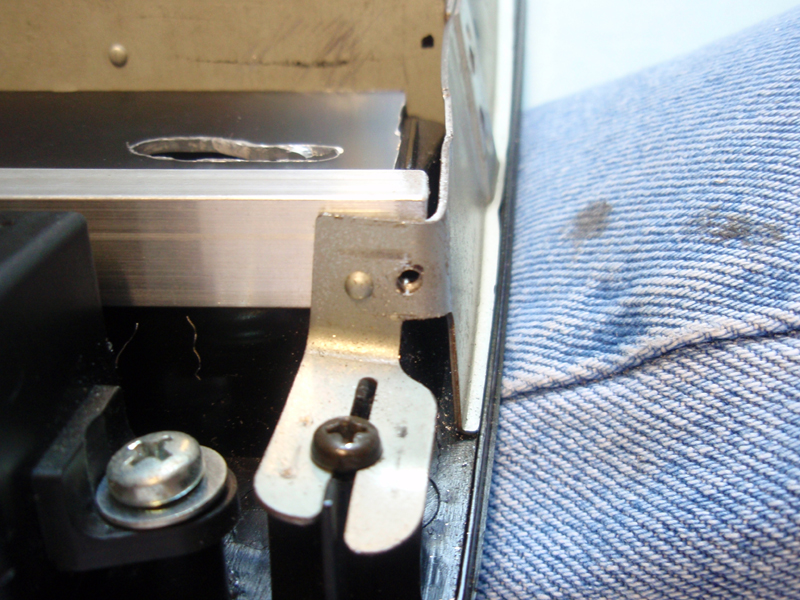
There are two little nivits that need removing to install the top
strip. This is so the metal pieces can lay flat against each other.
I did this using a dremel with a grinding stone.
Nivits removed.
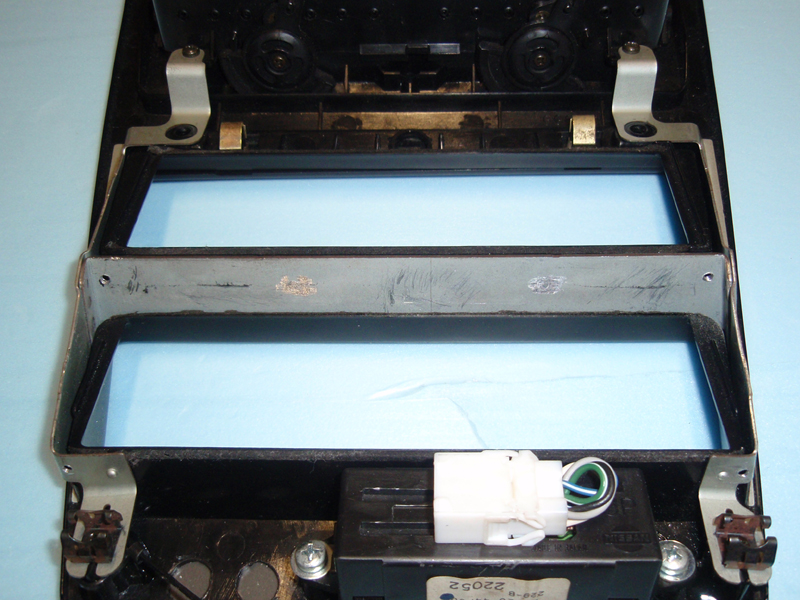
With the strips and panel installed I marked the spots to drill
holes. I marked both the strip and the metal brace. In this picture
you see where I marked the brace on top after marking and removing
the top strip. You have to mark all locations with the panel in
place so you get the right height location.
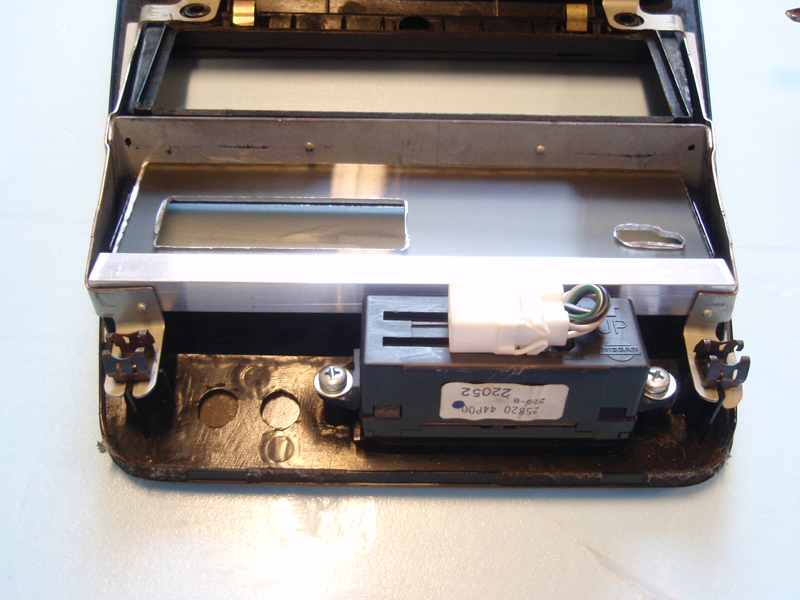
For the bottom strip I carefully drilled the hole with everything
in place. You need to be careful not to drill to deep or you may hit
the plastic. There is not much room to work with here. For the upper
strip I removed the metal brace and drilled the strip and brace
separately.
Remove these four screws to remove the metal brace.
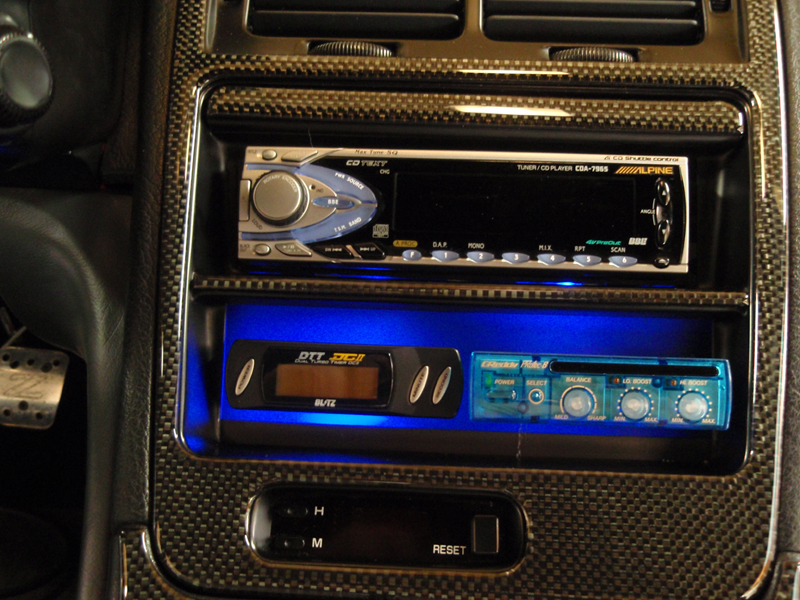
This is how it looks after the panel and strips are installed. In
this picture I have already attached the turbo timer to the panel
face using double sided adhesive.
Front.
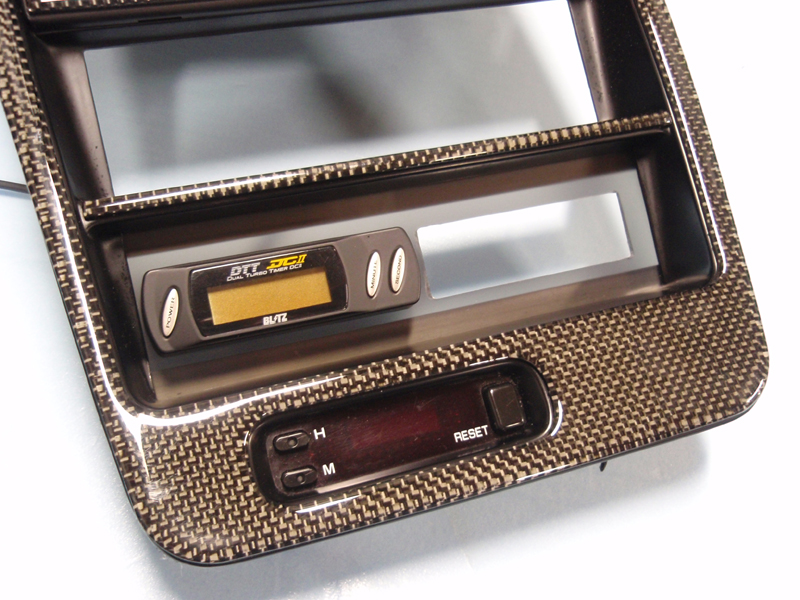
I used small screws to match the approximate 1/16" holes that
were drilled. The threaded lengths are around 1/16" in diameter and
just under 1/4" long.

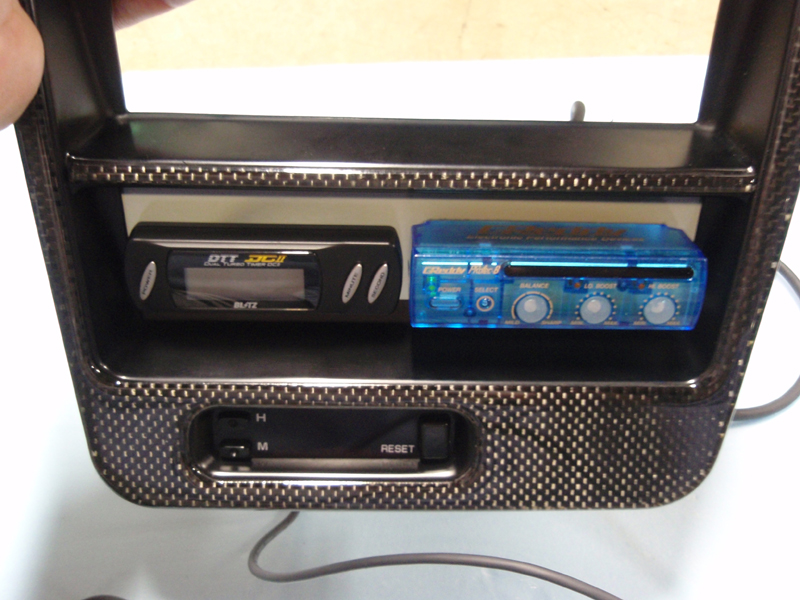
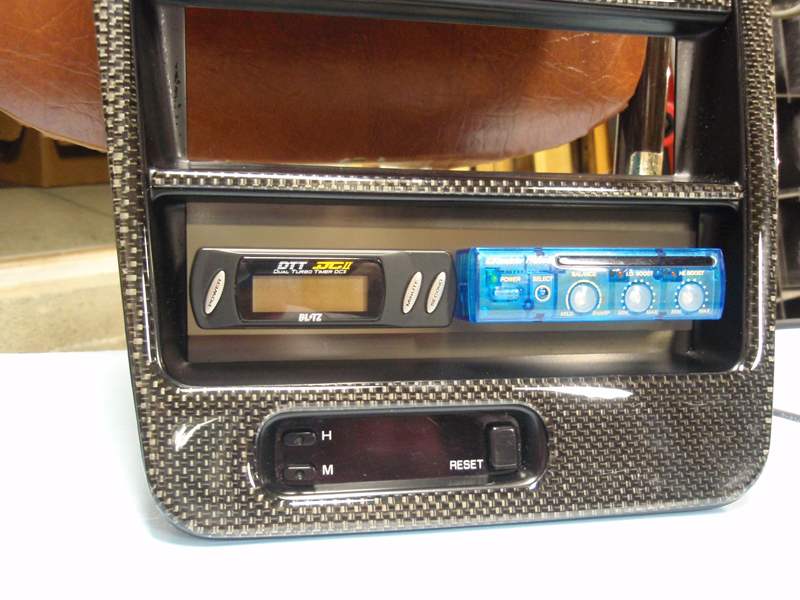
The front with both the turbo timer and boost controller
installed.
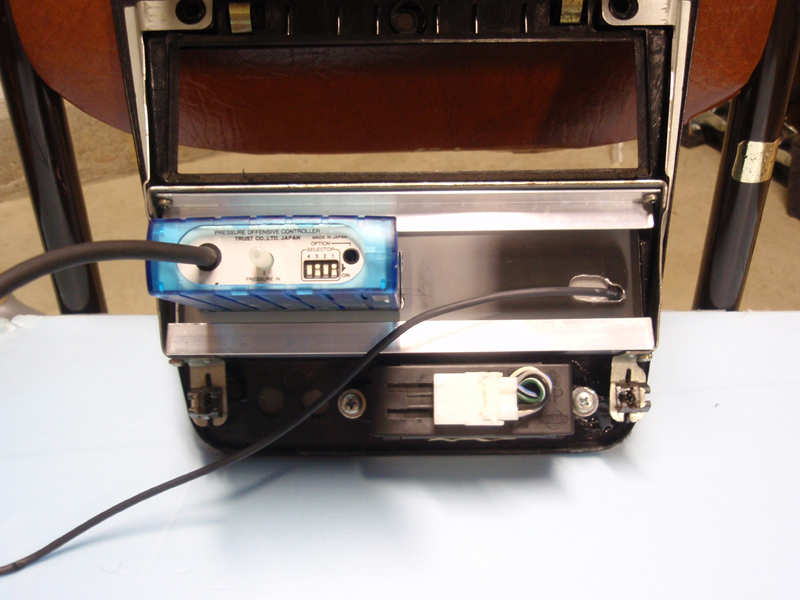
Rear.

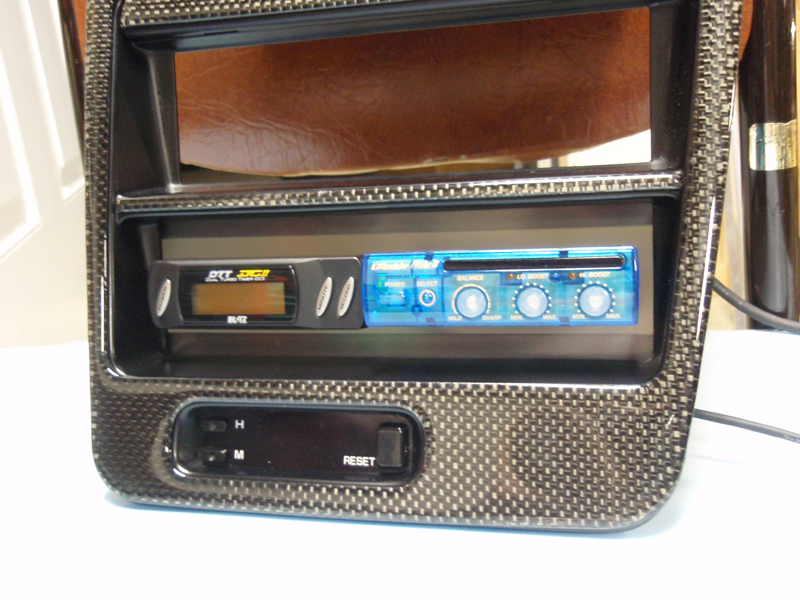
When I first installed this setup I only used one strip at the
bottom to hold the panel in. I had used zip tie squares to hold the
top of the panel in. I didn't feel comfortable with that so this
time I used a strip on both the top and bottom. In this picture of
my first post you can see how the bottom strip blocks the blue
backlight. I don't have a picture with the top strip installed yet
but now it should look more uniform and have a smaller area of blue
backlight around everything. I think it will look better this time.
Anyway, this is how it was done and I hope everyone didn't mind me
posting about it. As you know, when it comes to finding a location
and how to mount things, our cars are not the most flexible to work
with and still maintain something that looks good. Especially when
you start adding more than a couple of things. Thanks for
reading.
 "> ">

(Total Mouse Over Hits: a Lot)
http://www.twinturbo.net/nissan/300zx/forums/general/view/2209751/www.mytwinturbo.com
Watch an
ECZA meet caravan!
|


 How
I installed my turbo timer and BC. - DVDBURN
(MD) 22:49:42 10/10/08
How
I installed my turbo timer and BC. - DVDBURN
(MD) 22:49:42 10/10/08